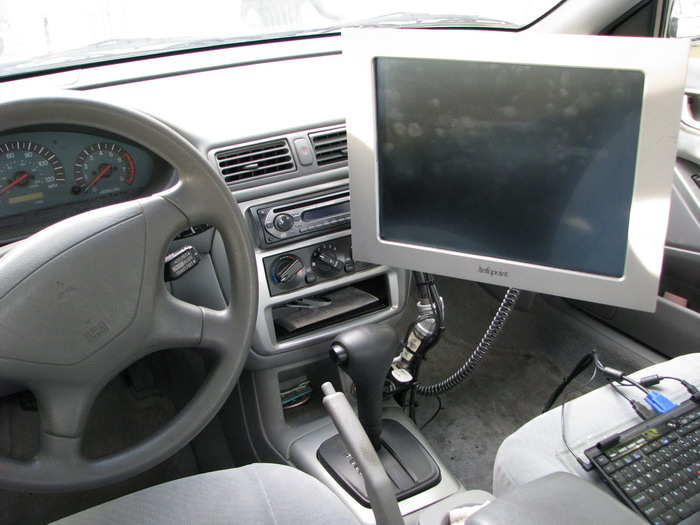
My car is full of trash now. I just don’t have the opportunity to empty it out anymore. I used to take the minutes I used to spend standing at the gas pump and take out the trash as it was the only time my car was actually parked next to a trash can. But now I can’t unless I keep the other cars behind mine waiting. This is due to the fact that there are no longer pump nozzle latches installed anywhere I go to pump gas thanks to the California Fire Marshall.
Gas stations fuming about order to remove nozzle latches
So, if you haven’t noticed, there are no more hold-down latches on your gas pumps in California. At first, I thought it was just a problem with one station but I eventually experienced the same thing no matter where I drove. I eventually saw this label on the ATM station at my local AM/PM…
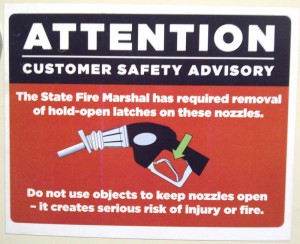
You see, there were a couple of incidents (13 to be precise) “to date” where out-of-warranty pump nozzles latches malfunctioned after being used in the field well beyond their designed lifespan and locked open. On top of that, the boot that normally ensures that there is a positive connection between the nozzle and your gas tank ALSO malfunctioned and managed to spray gasoline on the customer. Frankly, out of the massive amount of gas pumpers in the state, this has got to be nothing more than bad luck if you ask me.
With 34 million people in state, and most of them (let’s say 50%) own cars… Let’s say the average car owner pumps gas every week and a half…. That’s 589 million gas pumping operations a year. To say that “to date” there have been just over a dozen of these incidents (approx. 0.0000002% if my math is right). I hardly think this is a reasonable action to warrant such a burden on the people of California –especially since the gas stations were employing what the nozzle manufacturers would deem “faulty” equipment.
Still the California State Fire Marshal has decided to impose the burden of rectifying this questionable “problem” on us all. So now, weather its raining, bone-chillingly cold, you have arthritis, or simply want to wash your windows while at the pump, you’ll have to do it with the pump off and people waiting for your spot. Nice going Fire Marshal Tonya Hoover. You are officially an idiot and a burden on us all in my book. Yesterday night the outside temperature was well below freezing and I had to stand there in the 20 mph wind and hold the latch on the pump so you can feel like you did something good while at your post. Needless to say, I had some malicious thoughts going your way. You are a typical example of government worker being in a position of authority without consequences. I have little to no recourse against your actions, and even if I did, it still has no affect on you personally. I could sue the state and win and it would probably have no affect on your career or position. Not cool Fire Marshal Hoover.
The fact is that this “problem” is actually a result of mechanical failures and not that there was a hold-open latch on the nozzle. Nothing mechanical lasts forever (or at least we aren’t willing to pay for something that is). The incidents where these failures occurred involved pump nozzles that should have been replaced as they were simply worn out. The fact that TWO different safety features failed on the nozzle is indication enough for me. Both the hold-down latch failed to release after pumping was completed (probably a worn out spring), AND the “insertion interlock mechanism” failed to pop the hold-down latch when there is no contact and positive pressure between the gas tank face plate and the boot of the nozzle. Two mechanical failures that are both due to normal wear and tear. These nozzles simply should have been replaced on a regular schedule to prevent this sort of thing –the manufacturer has already attested to the fact that these incidents were all involving nozzles that were outside of their warranty period! So, instead of imposing the burden on the pump stations to ensure their equipment is in proper working order, the burden is on the millions of customers that must now stand in front of the nozzle, breathe the fumes, and hold the pump themselves. Shame on you Fire Marshal Hoover.
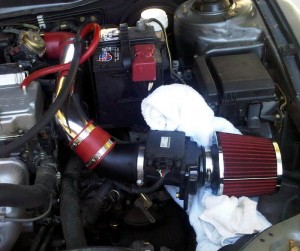
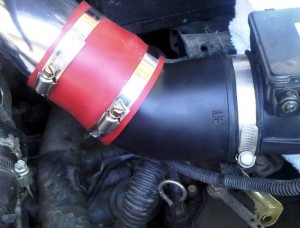
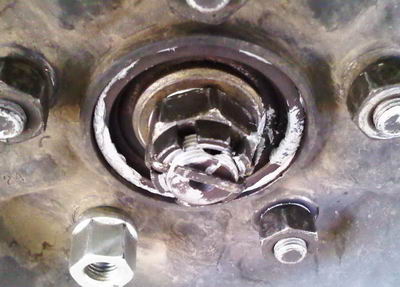 …The answer is YES!! I have been plagued with a noisy car for about a year now. It’s been slowly getting worse. At first, I thought it was the cheap used tires I had just purchased. Up till now, I would only buy used tires but this episode managed to change my mind. So I tried having them re-balanced. It seemed to help but hardly got rid of the noise I was starting to hear from my car at various speeds. It surely seemed to be bad tires –I’ve heard similar noises in the past and that was exactly what the problem was. So I just kept driving with the noise, I’d turn the music up or just talk louder on my bluetooth headset and wait for the tire to finally blow… Well that moment never came! After nearly a year of a progressively louder problem, I finally had enough money to break down and buy brand new tires from
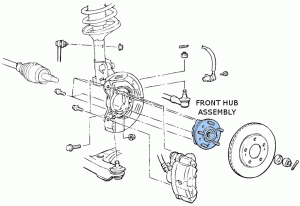
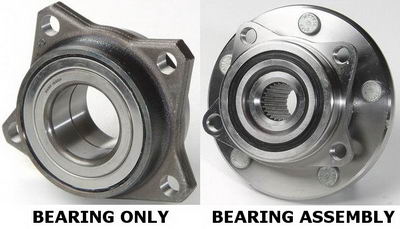
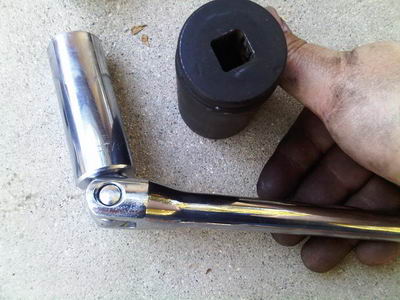 One final note here worth mentioning is the value of owning good tools. Most of all my tools are brand-name quality like Snap-On or Craftsman. I heard it mentioned in these videos and have experienced for myself the value of good tools and the curse of using cheap tools. In this last exercise, I’d have to say that I put some of my socket tools and breaker bars to the test and had not one issue with them. I can also attest to previous experiences in the past where things didn’t turn out that well using cheaper products!